Showing posts with label Kitchen. Show all posts

Monday, January 27, 2014

A few thoughts about gallery walls

We've currently set up two different gallery walls in this house, and two very different approaches went into each one. And although I'm no expert on much of anything, especially gallery walls, I wanted to share some of that thought process.

In the fall, we put up a wall of photos I took of some of my favorite places and buildings around town. Because they were all pictures of the same town, we wanted a more uniformed look for the wall. We made all of the photos black and white and got the same white frames for them all.


For the gallery wall we just put up in the family room, though, we had a completely different approach. The huge world map in above our couch was starting to bug me. I love the map, don't get me wrong, but all the empty space around it was taking away from the map's effect. The original plan had been to surround the big map with smaller maps of places that were meaningful to us, but it became too hard a task to find the maps I needed. (I gave up. I'll be honest.) So it was time to fill that space. With whatever I could find.

I got spontaneous on a snow day with the hubs last week and went through our whole house grabbing whatever frames I could find and spare (most of which were still in boxes in our spare room) and spread them out on the family room floor. Because I wanted to have frames on both sides of the large map, I divided the big group of frames into two small groups of frames, one for each side of the map. To decide what would go where, I looked only at the frames. We changed most of the pictures from inside the frames anyway, but the most important part for me was that the variety of frames spanning the wall seemed balanced. Not all the black on one side, little ones spread out, etc. Here's the finished product:


Here's the breakdown for each side: 
-each side has one frame that was bigger than the rest
-each side has a rough, weathered wood frame
-each side has a small frame
-each side has a metallic-looking frame (one is silver and one is gold)
-each side has at least one piece of artwork (either mine or from Etsy)

And because the frames are balanced out nicely, all we had to do was figure out the layout we wanted and spend some time on Shutterfly to fill the frames with some new pictures. Here's each side close up:


The beauty of this gallery wall, as opposed to the one in the kitchen, is that it can and will grow and evolve over time. It works for now the way it is, but there's also plenty of room on both sides to add frames and fill in the rest of the wall space as we collect more pictures, prints, and frames. We knew we didn't want to ever add to the kitchen gallery wall, so it fills the wall and it all matches perfectly. With this wall, though, we never have to worry about a specific frame going out of stock or having to maintain some kind of theme with what's inside the frames. It's all random and different which means it has the freedom to grow over time pretty easily. 

Both types of gallery walls are great and I love both of the ones in our house. I love them for different reasons, but I'm really happy with both of them.


Saturday, September 7, 2013

The Chalkboard Project

I'm on a crafty roll right now, and I decided to continue with it last night. When your best friend from college comes for an overnight visit to have a Boy Meets World marathon, you might as well add a DIY project in there too. So I tackled my chalkboard project.

I'd seen a picture of a chalkboard on Pinterest a long time ago that really inspired me, and I've had it in the back of my head while thrifting since then.

http://thedabneyhome.blogspot.com/2012/02/from-mirror-to-chalkboard.html

I figured it would be relatively easy to find a piece like that someday, and I was right. My sister was visiting from Memphis and we opted to spend our day together bouncing from thrift store to thrift store, and I found this guy in the middle of a Front Royal mad house of a flea market.


The best part is that it cost a mere $20. Score yet another one for thrift stores. And look at those details on the top! It's got a lot of character for a $20 mirror. I snatched it (after a phone call to hubs) and have been storing it in the guest room for a couple weeks until I got a chance to paint it. A $2.50 bottle of chalkboard paint made for glass and a $4 white paint pen, and I was good to go.

First step: tape off the wood. We spent a lot of time going back and forth about whether to paint the frame white or leave it this wood, and in the end the wood won out. I have kind of a white frame theme going in the house, but it's good to switch it up every once in a while. And I think it does add to the character of the piece. So wood it stayed.


Second step: paint the mirror with the chalkboard. Pretty straight forward, really. It took two coats and I had to do some touch ups after I took the tape off and it took some of the paint with it, but it wasn't bad. I will say that I used an artist's brush to paint it, and in hindsight I would have used a roller. I honestly meant to roll it on, but got caught up in the moment and forgot. There are some uneven lines from the brush edge, but it's not bad and it's not that noticeable. Once there's chalk on it it will be even less noticeable.


Third step: write out the "Verse of the Week" header at the top. I saw a different chalkboard on Pinterest a while ago that had a chalkboard like this that was turned into a "Verse of the Week" board, where scripture is shared with the family all week and memorized. I loved the idea, and decided that when I make my own chalkboard I'd do the same thing. I wanted to write out that header with white paint, meant to look like chalk but more functional in reality because it won't wipe off. If I ever decide to change the purpose of the board someday, I can just paint over it.


Please ignore my eraser marks from when I penciled it out, didn't like it, erased it and drew it again.

I used a white paint pen to do the writing, because it's just way easier than using a paint brush. Why put yourself through that kind of stress? It was a super fine point though, so I went over it a couple times to thicken the letters.

Fourth step: something to hold the chalk...which was also stolen from Pinterest. I used a drawer pull, attached up-side down. I used super glue to attach it straight to the chalkboard, rather than screwing it into the wood. Chalk is super light so it wouldn't need to bear much weight, and I just couldn't bear to mess up the wood.


Fifth step: hang it! This step was super easy because the mirror already came with hanging hardware attached. How lovely.


Pay no attention to the weird reflection of my Kitchenaide on the wall. Or my dog.
 
 
How great is that? I love it. It's huge, it fits the space really well, and the wood frame perfectly complements all the wood that's in that space already. Now I just need to choose a verse for the week...


Wednesday, September 4, 2013

"After" Paint Pictures

A little while ago I posted some pictures of the house before I did much of the painting. It's been a chore but - with the exception of a couple touch ups in the laundry room and the two empty bedrooms that will be done at a different time - all the rooms have been painted. It's made a humongous difference in the look and feel of the house, and it's also been a big part of making the home ours.

I wasn't going for much style or perfection when it came to taking these photos, and I also didn't try to get into the details of each room. I still have big, crafty plans for each room and I'll post about those details and changes as I go.


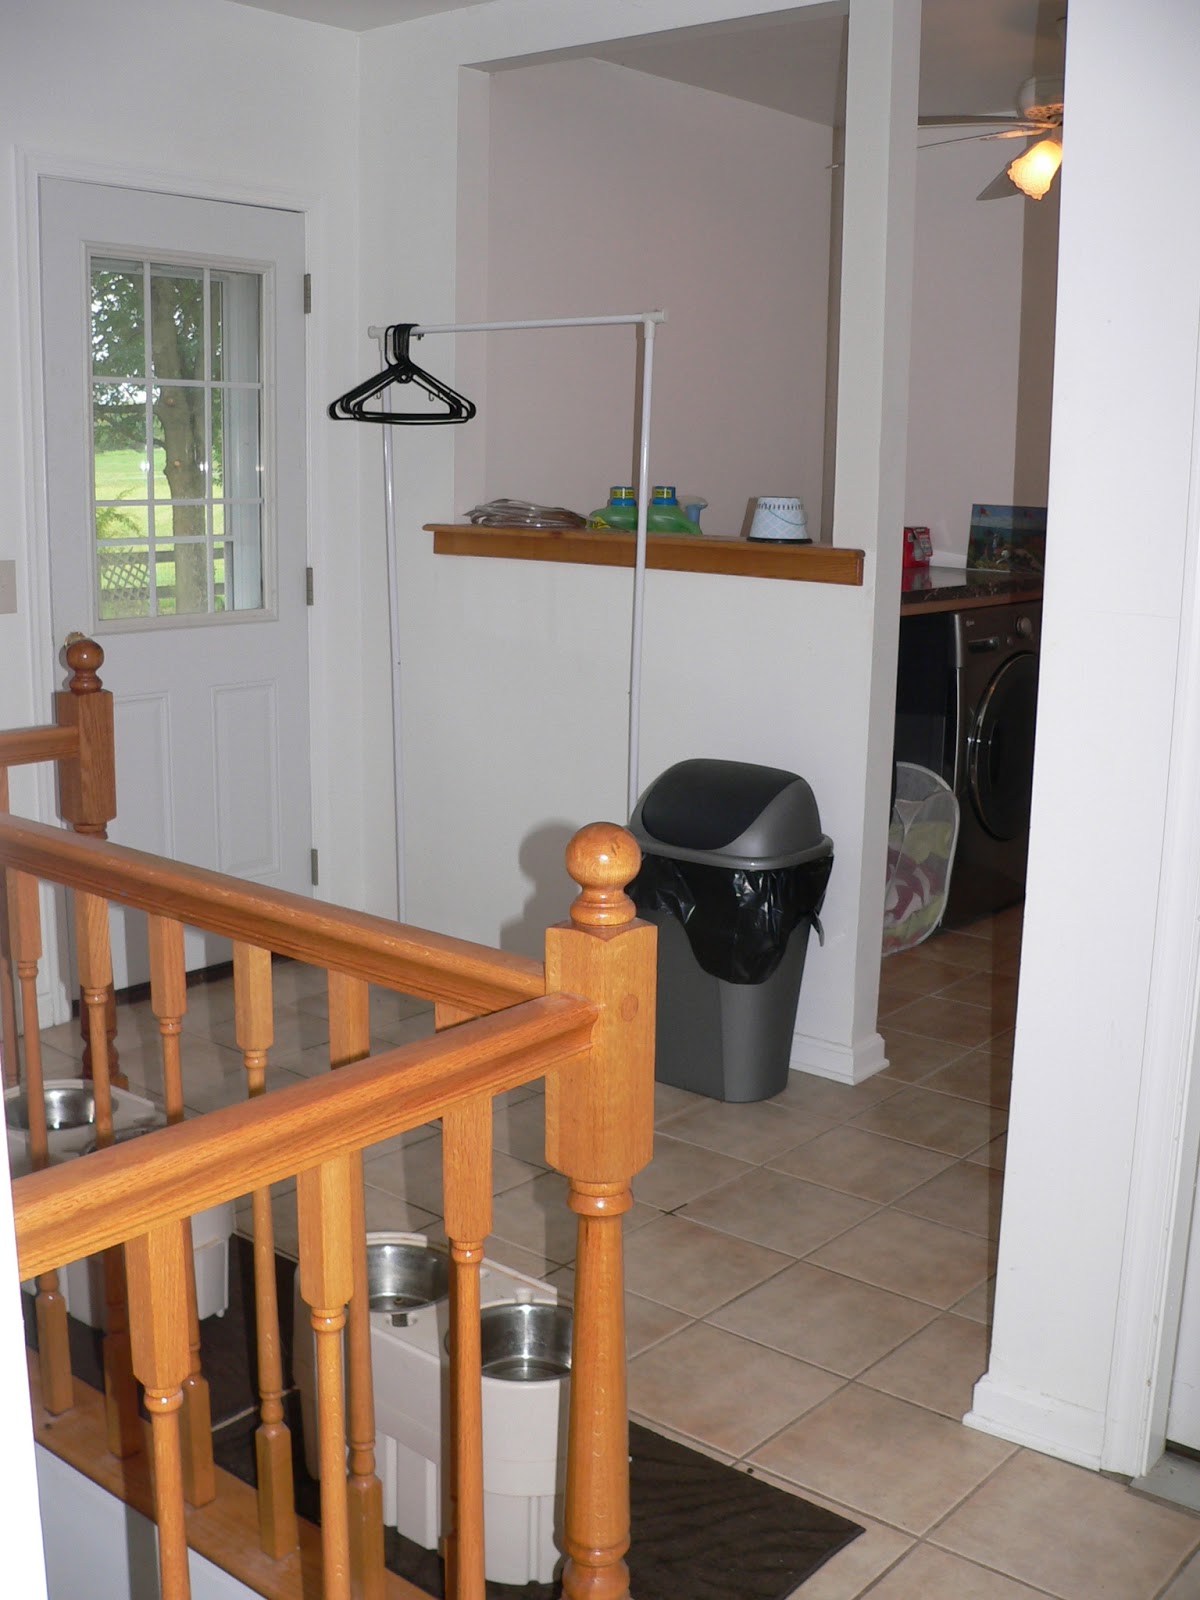
When we moved in, the entire house was a flat beige. Neither of us are beige people, but I didn't realize how much I hated flat paint until I had lived in this house for longer than three minutes. Why on earth would anyone paint anything with flat paint? I painted these two rooms, the den and the guest room/office, soon after we moved in. When we were beginning the process of painting the rest of the rooms about a month ago, I realized that the laundry room - which was actually white and not even beige - wasn't on the list. As a laundry room, it just wasn't high on the priority list. When I remembered I had extra paint left over from both of these rooms, though, I decided to use it to paint the laundry room for free. I wanted to paint the majority of the space with the dark gray and have two accent walls around the washer and dryer painted the mint green color of the den. As with most things, it didn't work out exactly how I'd imagined it, but I was able to squeeze three walls (tiny, awkward walls) out of the gray paint and only one accent wall out of the mint. Unfortunately, the laundry room was an addition at one point and the walls weren't really painted in the traditional sense, which meant the paint just didn't stretch as far as it should have. We did have to spend some money on getting this space painted, BUT it definitely wasn't as much as it would have been if we hadn't used the leftover paint we already had. We'll tweak it in the future, but for now it's much better than the dirty white that it was.

Laundry room before...


And laundry room after...


Clearly, the laundry room is paint central because of the slop sink. (A brief side note on slop sinks: get one. Always, always, always have a slop sink somewhere in your house. I can't even tell you how gross the inside of that sink is right now because of all the paint rollers and brushes I've cleaned in it over the last couple months. The fact that that's not what my kitchen sink looks like is extremely important...and yes, I will clean the slop sink once I'm done with all painting.) You get the point of the transformation, though. The mint accent wall is behind the washer and dryer, and since the huge pass through window is in the wall to the left of the units I was able to use the very last drops of paint to get that one too. It's not the dramatic accent wall I pictured, but I have plans that involve using some other leftover paint on it one day. Just not right now, because I'm tired of painting right now.

Next on the tour is the kitchen/dining room.

Kitchen/dining room before:


And kitchen/dining room after:


This one is really subtle, I know, but the new color in here is a brown that's several shades darker than the original beige. It's quite a bit more impressive in person, I will say. You can really tell the difference when you look at the contrast against the white trim in both sets of pictures. You can also see the original beige in the hallway when you look through that arched doorway, because we haven't done anything with the entry way and hallway yet. We're really happy with this color; we kept it somewhat neutral but it does make the trim pop a lot more and it's just a better color than the blah beige (I just hate beige).

Next, the family room.

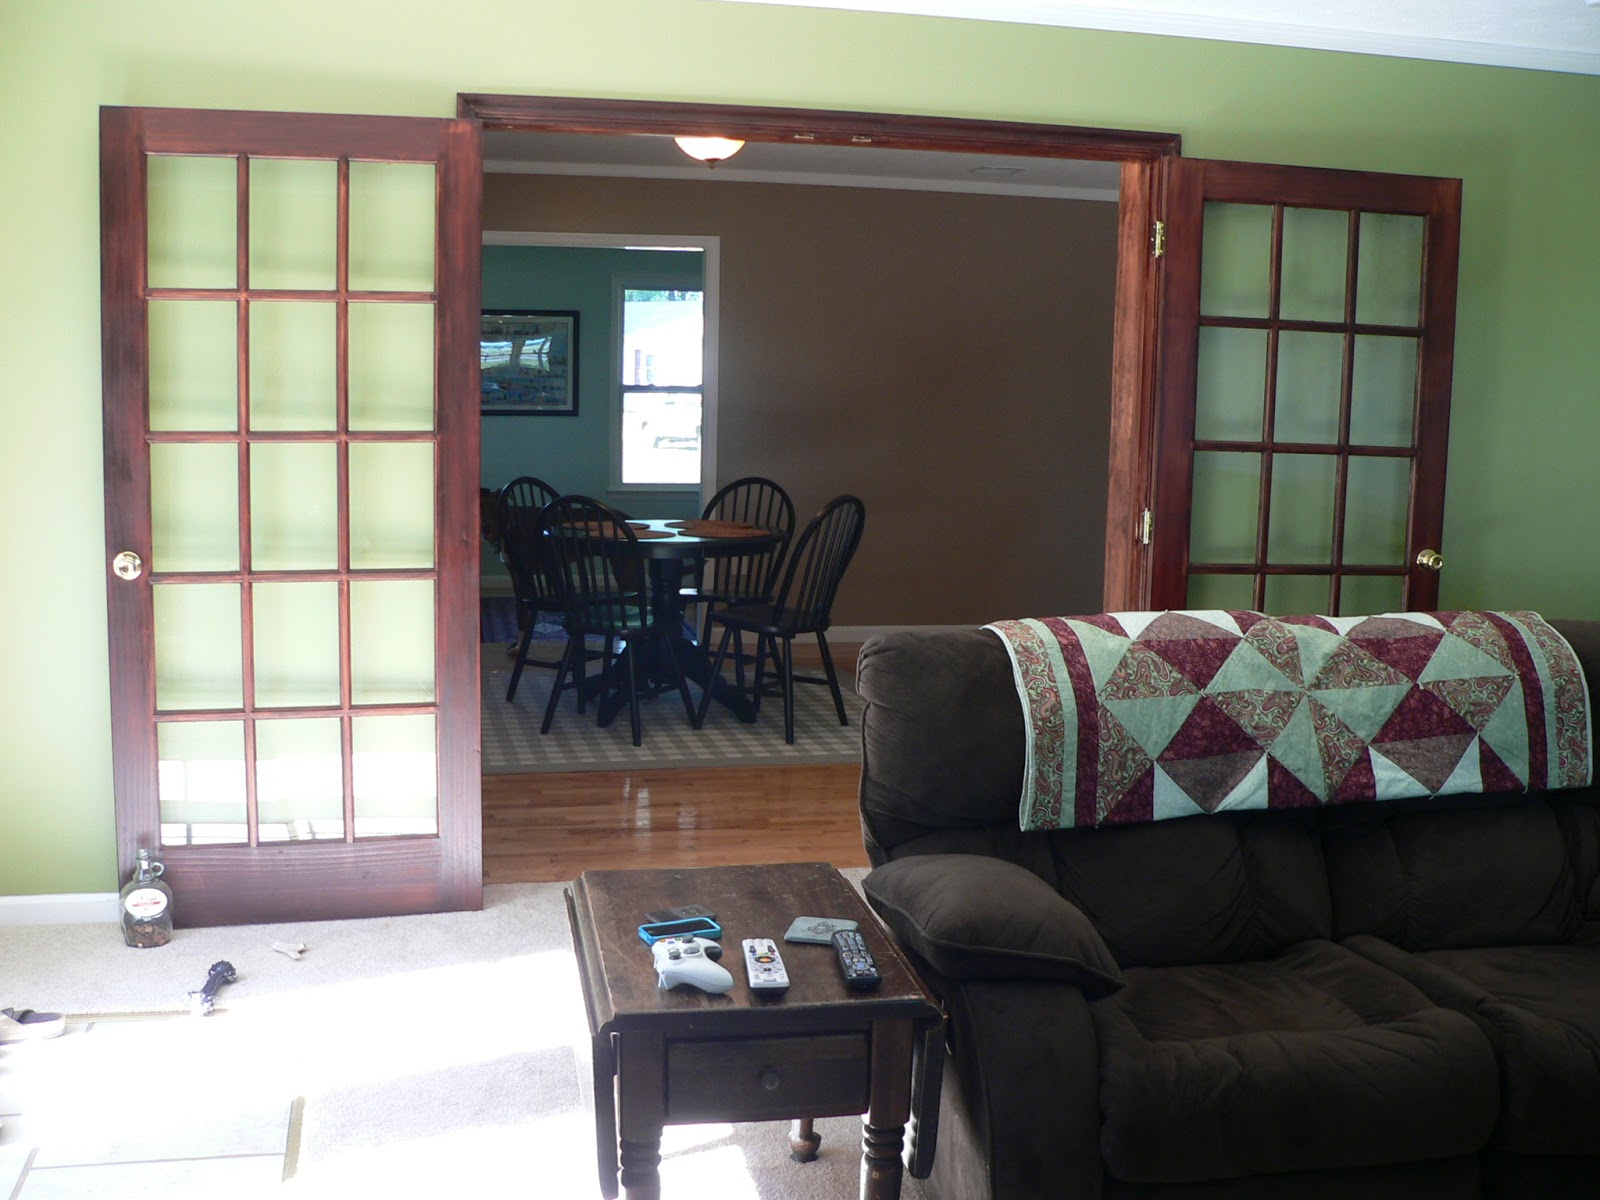
Family room before:


And family room after:


This green is probably the boldest color choice we made, but it's also probably my favorite of all of them. I love how it looks next to the stone of the fireplace, and I also love how it looks against those French doors and the couch. It's a really great room.

Last up on this new color tour, the master bedroom and bathroom.

Bedroom before:


And bedroom after:


I didn't take much in the way of pictures of this room, and I honestly can't remember why...but I will say that I have a lot of fun plans for continuing to redo our bedroom, so more pictures will come soon. But isn't it a fun color? It turned out a little bit brighter than I had envisioned, but it does look great against the white trim and photo frames, and makes the dark furniture pop. The bathroom got the same color treatment.

Bathroom before:


And bathroom after:


The blue looks really good against the cabinet - which for some reason came out super dark on here - and the dark floor tile, and all the white accents in here also look great against it. I'm a fan. I'm not, however, a fan of painting bathrooms. Definitely my least favorite room to paint, and I'm completely glad it's over.

So that's it. Color really does make a huge difference, and it is the most reasonably priced ways to make such an impact. It can take a lot of time and be a huge pain in the butt, but all things considered it's probably the most painless DIY/home renovation project you could tackle.

Now that that's behind us, I'm excited to see what else we can do in these rooms!