Showing posts with label DIY. Show all posts

Wednesday, January 20, 2016

Laundry room makeover update

Hey friends. Last week I shared our guest room makeover and the main bathroom makeover, and even though the laundry room is far from done, I wanted to share some pictures of what's been going on in there lately, as well as share our vision for what still needs to be done.

This is what our laundry room/mudroom looked like when we moved in:


We painted the walls and the stairway railings, and also added a countertop above the washer and dryer. Both made a huge impact on the room.


And then last year we added a small accordion drying rack which was really helpful.


The room was definitely way better than originally, but when we had a major leak in a wall and had to tear quite a bunch of sheet rock down, I used it as an opportunity to float some ideas by JT. We ultimately decided to take down that annoying half wall that separated the laundry room from the mudroom, and rotate the washer and dryer so that they sat next to the slop sink on that back wall.


Our best guess is that one of the times the pipes froze and then thawed last year, one of them burst. So we (JT) took down a ton of sheet rock, identified and fixed the leak, reinsulated the whole room because obviously it was lacking, and then we moved the washer and dryer. The room had a couple of different stalled points, the first being after the leak was fixed but the drywall was missing and the washer and dryer hadn't moved. 


The second was after we moved the washer and dryer and the wall was still there (talk about claustrophobic while trying to empty and load laundry). But now the wall is officially down! And it looks a thousand times better. 


Having that wall gone is literally the best thing to ever happen to this room. It's amazing and it feels three times the size. You can see that we decided to forgo the countertop this time around, and built a box for the washer and dryer to sit on instead. There are a lot of pros and cons with having a countertop versus not having one, but the design we have in mind would make it pretty obsolete and we liked the idea of having the units raised to a more comfortable height. You also might notice that there is sheet rock patched, but it still needs a lot of work.

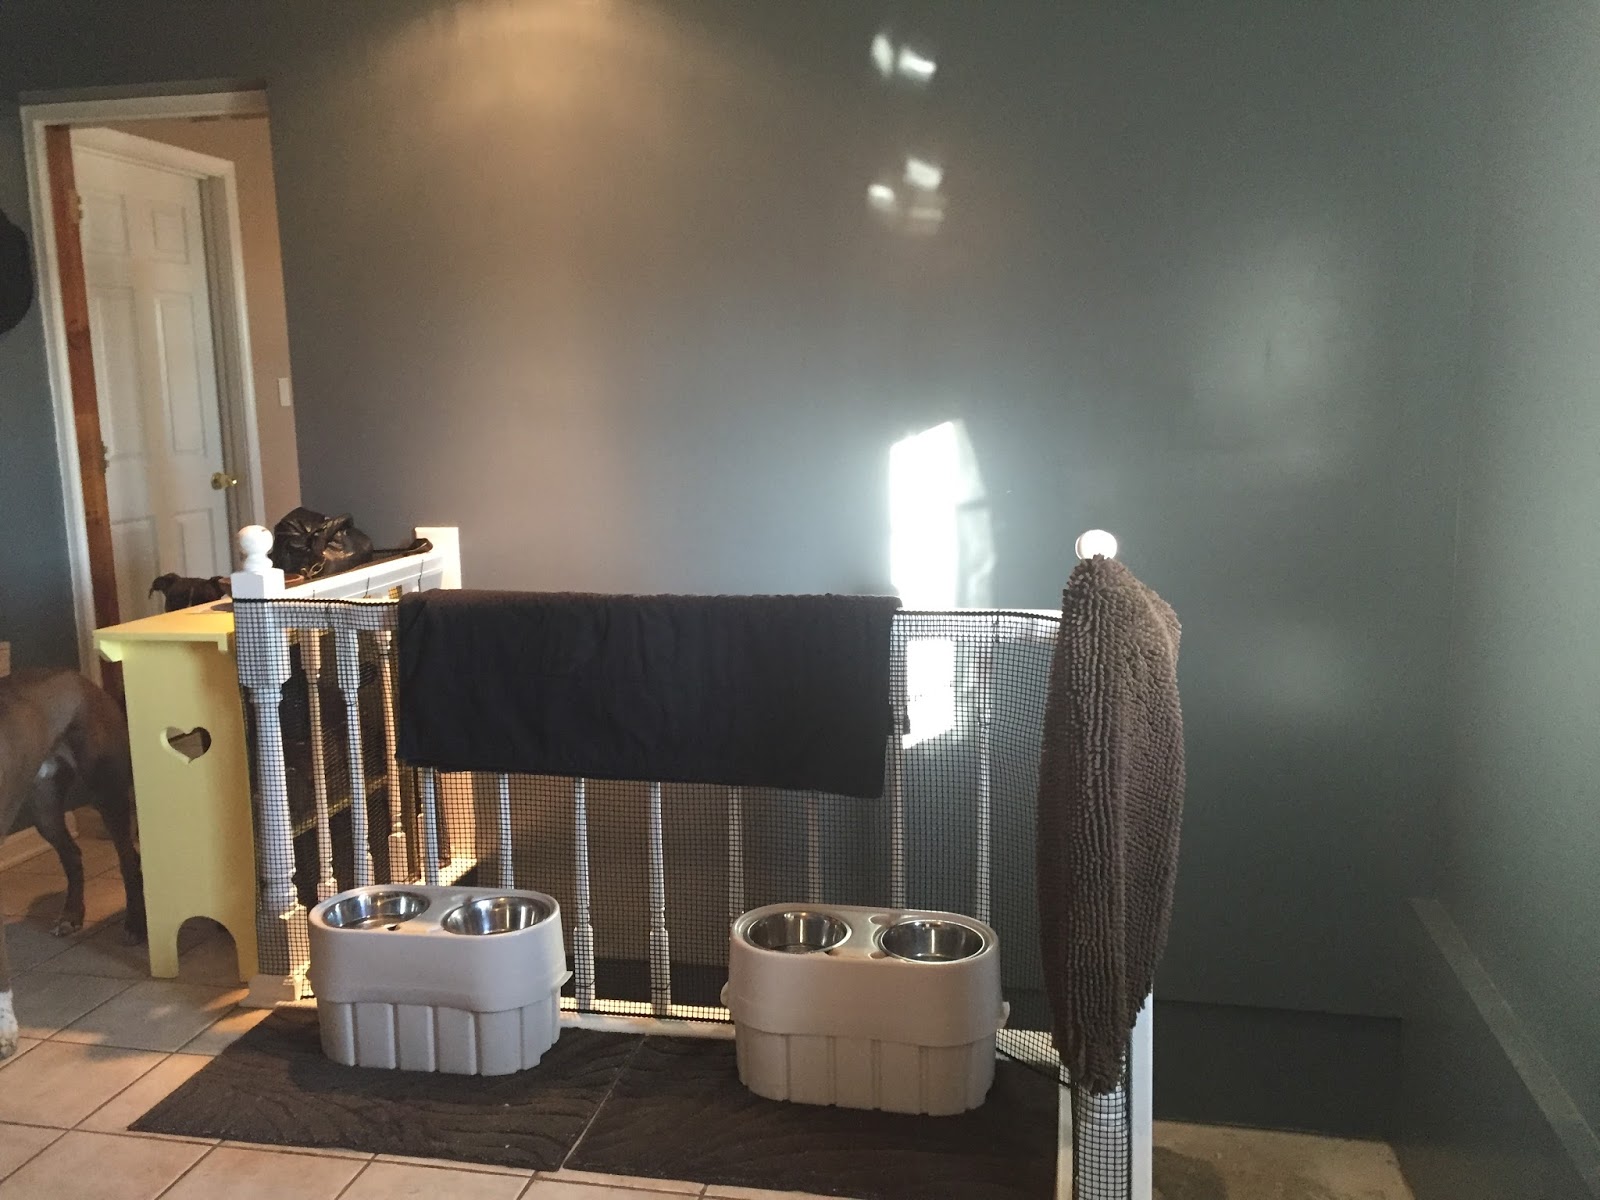
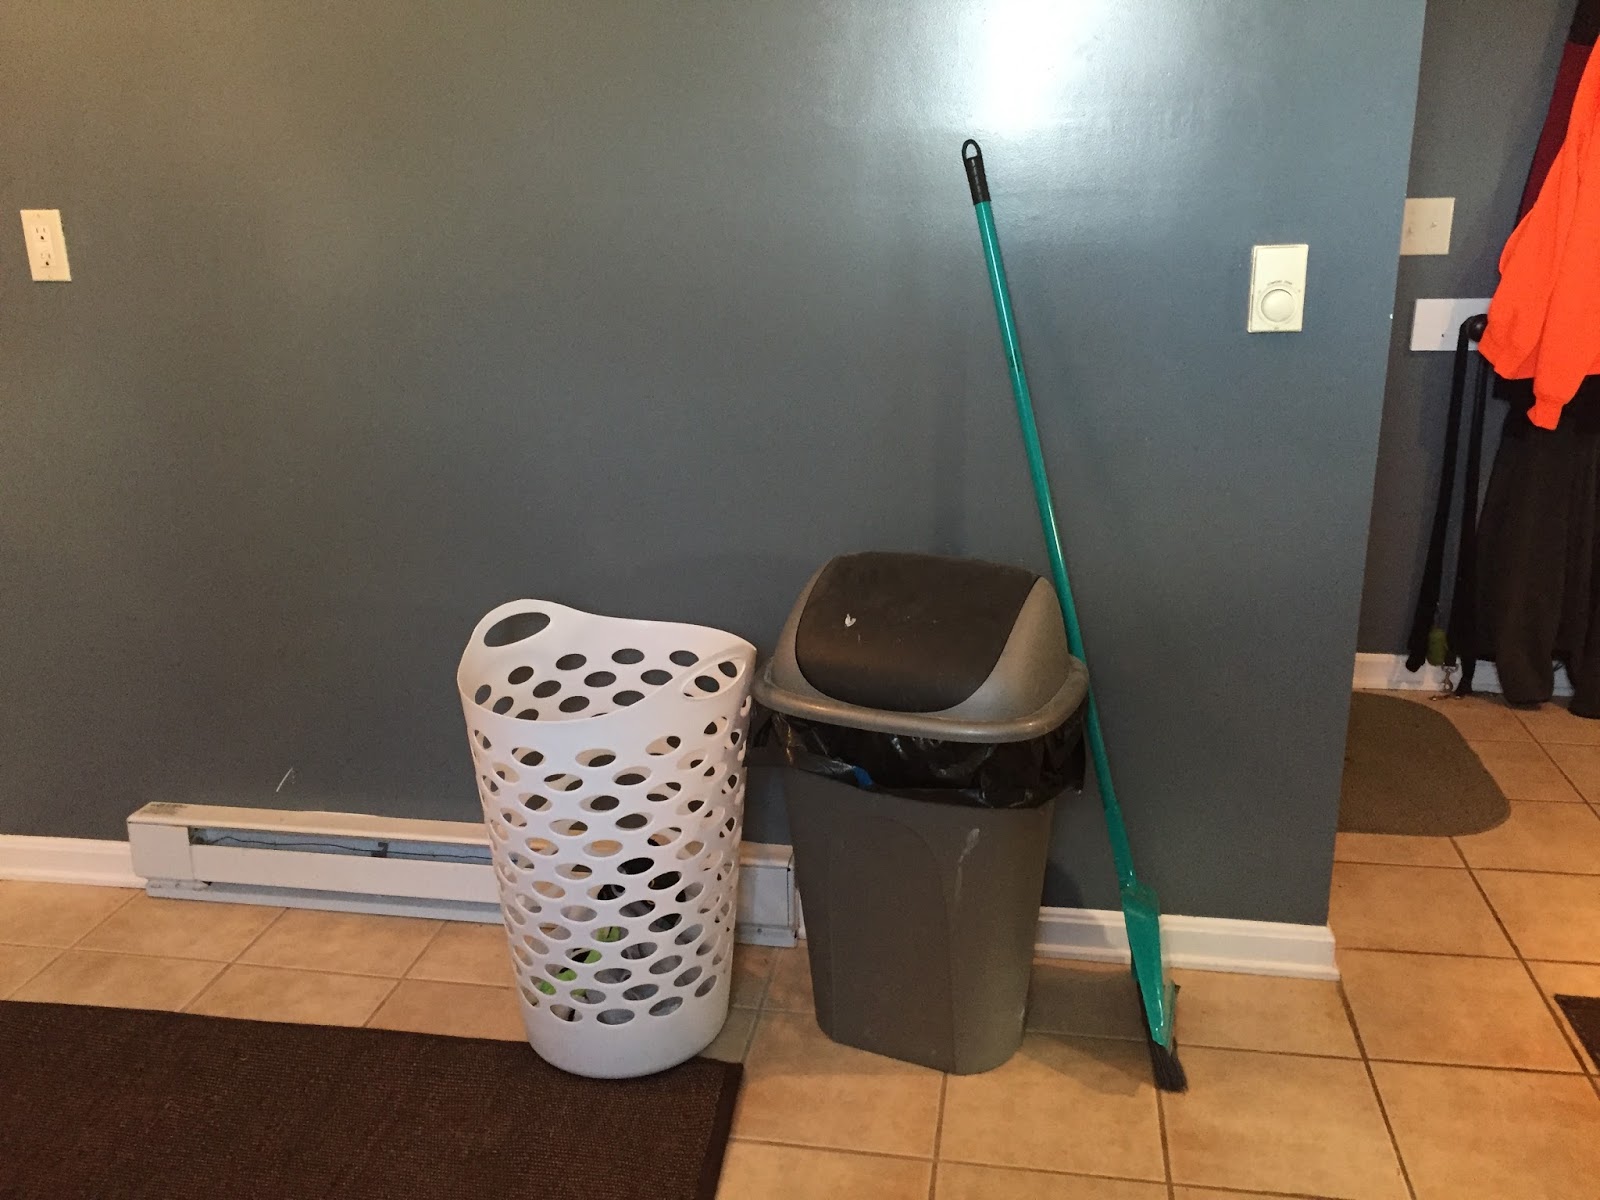
Here are some pictures of the rest of the awkward room.


That's some pretty snazzy baby proofing we did on the stairway railing, isn't it? Also, that blaze orange hoodie of JTs is BLAZE orange and it's all I see in that picture. 

Even though so much has been done, there's still somehow a ton that needs to be done in this room. It's mostly fun things, but a lot nonetheless. 

Here's the list:
  • move washer and dryer
  • build a box for the washer and dryer to sit on
  • reinsulate walls
  • patch drywall
  • finish drywall mudding 
  • buy rug for floor
  • install some kind of patch for the missing tile on the floor (under rug)
  • move accordion drying rack to a different wall
  • paint the back wall behind the washer and dryer
  • replace slop sink
  • install overhead cabinets
  • hang hook for dog towel
  • (have an electrician) relocate the dryer outlet
  • install faux shiplap on the remaining two walls
  • create/hang artwork
  • replace/possibly move overhead light
  • rewire the main light switch to include the lights over the stairway
  • repaint ceiling
  • install crown moulding
  • reorganize entryway table 
  • (long term, not right now) replace the tile floor
Yes. It's still a long list. This isn't a room that will be finished in a weekend, which is why I'm posting an update about it now rather than wait till the finished product. We're not really sure when we'll get to all these things but hopefully it's in the next several months. Some of it is pretty simple and straightforward, and some of it will be a real pain (painting the ceiling...ugh).

The biggest thing I'm excited about with this room is the shiplap walls! Fixer Upper, anyone? I love the look and I'm excited to incorporate it into our house. I have plans for it to show up in a couple other rooms in the house eventually too, which will be fun to have it all tie together and look intentional (because it is). Honestly, though, I think I might be even more excited to see this room look like a part of the house. A finished, warm, inviting and decorated part of the house. It's always just felt like a weird addition to me...the room we walk through to get in and out of the garage. The room we walk through to get to the basement (don't even get me started on those basement stairs...one day maybe I'll help them). The room we clean our clothes in and let the dogs inside in and feed them in. But not a real and true room. It's cold (literally and figuratively) and blah. But we're making some great steps towards it not feeling that way, and I'm excited.

Sunday, January 17, 2016

The Nesting Place: a brief review

taken from Goodreads.com
I just finished this book and I don't really know where to even start with my review...I just know that I want to tell the world all about it. I've been reading The Nesting Place blog for a couple years now and am in love, so I knew I would love this book. I thought of it as more of something to cross off the list, though, kind of like something to just say I did because I already knew I loved her. But goodness. I'm so glad I read the book, not necessarily because I learned something new or different than what she talks about in her blog, but because having it all in such a condensed, concentrated place was amazing and exciting and convicting and challenging and freeing.

Myquillyn Smith, also known as "The Nester," challenges people (mainly women, let's be honest) to be content and love the home they're already living in, no matter what. Regardless of financial handicaps, regardless of how weird or broken the house is, regardless of whether we own it or are renting it, regardless of whether it's the short term living arrangements or the forever home. Her catchphrase (which has already been incorporated into our everyday conversation in this house, which is kind of a big deal) is "It Doesn't Have to Be Perfect to Be Beautiful." And you know what? It really doesn't. I'm learning that and so is JT. There's a lot about our house that isn't perfect. There's a lot about our decorating that isn't perfect, and there's a lot about where our house is right now that isn't where we perfectly hope to have it one day. WHO CARES. It's still beautiful. It's still our house. It's still functioning, keeping us safe and dry, and it's, truthfully, so much more than we should ever have. I'm not aiming for overused cliches when I say that we are incredibly blessed with this house. I have gotten mad at it and grumpy about it and threatened to burn it down and begged my husband to move me out of it....but honestly, I love it. I love this house. I'm sitting here right now in the dining room looking at this house and thinking about all the inspiration reading this book gave me, and dreading the day we one day have to move. I'm rambling, but I don't even care. In fact, I'm nowhere near done rambling.

This book spoke to me in ways that I didn't see coming. It helped me see the beauty in what I already have. It helped me see that I shouldn't be dreaming about the next house we have when this house we're already in is a wonderful gift that we get to live in. It helped me see that the perfectly designed house that looks like it was created for Pinterest won't make me happy, but that a house that we've filled with functional, pretty, comfortable, useable things that work for our family will create a home that is safe, warm, inviting and relaxing. (That sentence had a LOT of commas. My apologies.) Basically, this book isn't about home design nearly as much as it's about contentment. 

If you live in a rental home/apartment and you're afraid to make any changes even though you hate a lot of cosmetic finishes, read this book.

If you live in a rental home/apartment and you're unhappy because you wish you owned a house, read this book.

If you live in a home you own that you get mad at/frustrated with/grumpy about because you wish you had more money to make it pretty, read this book.

If you live in a home you own that you regret buying, read this book.

If you are constantly trying to make your house look perfectly spotless and put away and look like a show house so you can impress your friends, read this book.

If you think your home is too small, too big, too ugly, too modern, too dated, too [fill in the blank], read this book.

If you're looking for practical ways to make changes and updates to make your house feel more like home, read this book.

If you feel like your home doesn't really reflect your style, read this book. 

If you live in a home that you like most of the time but sometimes have raging pity parties because you find yourself in the flooring aisle of Home Depot and you wish your floors had THAT tile instead of the tile it has (this is me, in case you couldn't tell), read this book.

Honestly, just read this book.

Guys, I don't even love everything about her style. That's so not the point. I can't say it enough: this really isn't a decorating book nearly as much as it's a book about how to be content and thankful for what God has given you right this instant. It helps give you ideas and it does give practical advice, but most of all it encourages. And that is a book worth reading (over and over, probably).

Wednesday, January 13, 2016

Main bathroom makeover

I mentioned last night with my guest room post that we've made some updates so several rooms in the house over the last couple of months. Although Charlotte's playroom and the laundry room are still works in progress, the other room that's been finished is the main bathroom.

Up until this November, we really hadn't done anything to this bathroom since the day we moved in. We hung up a shower curtain we already owned, put down some bath mats and hung a (much too small for the wall) picture of a sunflower field on the wall above the towel rack. Until Charlotte graduated from the kitchen sink to the bathtub, we literally never used this bathroom so it was easy to forget about. It is, however, the main bathroom for guests and the only full bath in the house other than the master bathroom. So even though we never used it, it did get used from time to time. I'd kept it in the back of my mind to change at some point but it wasn't an emergency at all. Now that we spend a lot more time in there with Charlotte on bath nights, I wanted to give it some updates that will help propel the room into its main purpose for the next handful of years: the kids' bathroom.

I wanted it to be a young, bright, kid bathroom without being too over the top and matchy-matchy. Even though they make some really cute bathroom sets out there where the shower curtain and the soap dispenser and the toothbrush holder and the bath mats all match, I wanted to avoid it and go with more of a primary colors/animal theme instead. Here's the finished product:


I started by painting the walls a medium-grey, and then from there the first item of inspiration was obviously that shower curtain. Isn't the absolute best? I love that it's got bright primary colors and animals but is so subtle it's not obnoxious and in your face. This isn't really the world's biggest bathroom, either, so having too loud of a shower curtain would have been overwhelming I think. The bath mats are the same color as the blue leaves in the curtain, so that made it easy. From there I just picked small things we could change in the room and tried to focus on colors.


We switched out the mirror, hand towel hook, hand towel, soap dispenser, and knobs on the vanity but left the existing vanity and lights. When looking for the new items, I decided on white for the towels to balance the grey of the walls and the bright colors of everything else, but focused on bright primary colors in the accent pieces like the mirror, hook, and knobs.


Thinking ahead to when more than one little person is using this bathroom - Lord willing - we took out the towel bar and put in a row of hooks instead. We chose the awesome towels with hooks specifically and hung them a little lower to the ground to make it easier for toddlers of the future to hang their own towels up. (Please note the unicorn hooded towel on the end. My aunt and uncle gave it to Charlotte and it's monogrammed and now every child we ever has needs one. It. Is. The. Best.)

I also stuck a big white trash can next to the toilet to hold lots of extra toilet paper.


One more look from the doorway:


And one (kind of wonky because I used the panoramic feature to get the whole wall) view from the shower:


And that's it! In the future, we plan to add a white medicine cabinet above the toilet, and I will have to spend time organizing underneath the sink at some point. Right now there isn't really anything under there but some cleaning supplies and a trash can, but someday it's going to have to be a space that works pretty hard.


It was really fun to make these small changes and see such a huge impact. Just like in the guest room, we tried to save as much money as we could on this little makeover. Here's the basic breakdown:

Things we paid for:
  •  new towels (bath and hand towels): from IKEA, about $80 (they were about $10 each, and we got plenty of extras for both since IKEA isn't close)
  • small trash can for toilet paper storage: from IKEA, about $4
  • mirror: from Hobby Lobby, $50
  • small hook for hand towel: from Hobby Lobby, about $1.50
  • knobs for vanity: from Hobby Lobby, about $6
  • soap dispenser: from WalMart, about $8
  • bath mats: from Target, about $15
  • shower curtain: from Target, about $30
  • towel hook rack: from Target, about $20
  • paint: from Home Depot, about $30
This one did add up because of the towels and mirror especially, but we plan to keep the bathroom this way for quite a while and we're really excited with how it turned out.

I'll wait till the playroom is done - just two more things that need to be done - before I share it with you, but I think soon I'll share a progress update on the laundry room renovation and fill you in on what still needs to be done (hopefully over the next few months). 


Tuesday, February 24, 2015

Basement Stage 1: Completed

We've been picking away at our basement facelift for a couple of months now, and as of Sunday night we have finally reached a good stopping point for a while. Praise. The. Lord. JT's aching body and my grumpy need for husband quality time have both been suffering.

As a reminder, we installed the wood stove down in the very unfinished basement, and then found ourselves in a situation where the things we should do to help the efficiency of the stove turned into a whole bunch of "well while we're doing that we might as well do this too." To keep things somewhat realistic, we've decided on a moderately long term goal of pseudo-finishing the basement within the next couple years, with the bulk of it probably being done over the course of this year. Stage 1 (meaning, the stuff we're going to do right now) is officially done.

This is what we started with. I wish so much that I had better before pictures, but I tend to get excited and jump right into things without capturing the originals very well. I'm trying to work on that though.


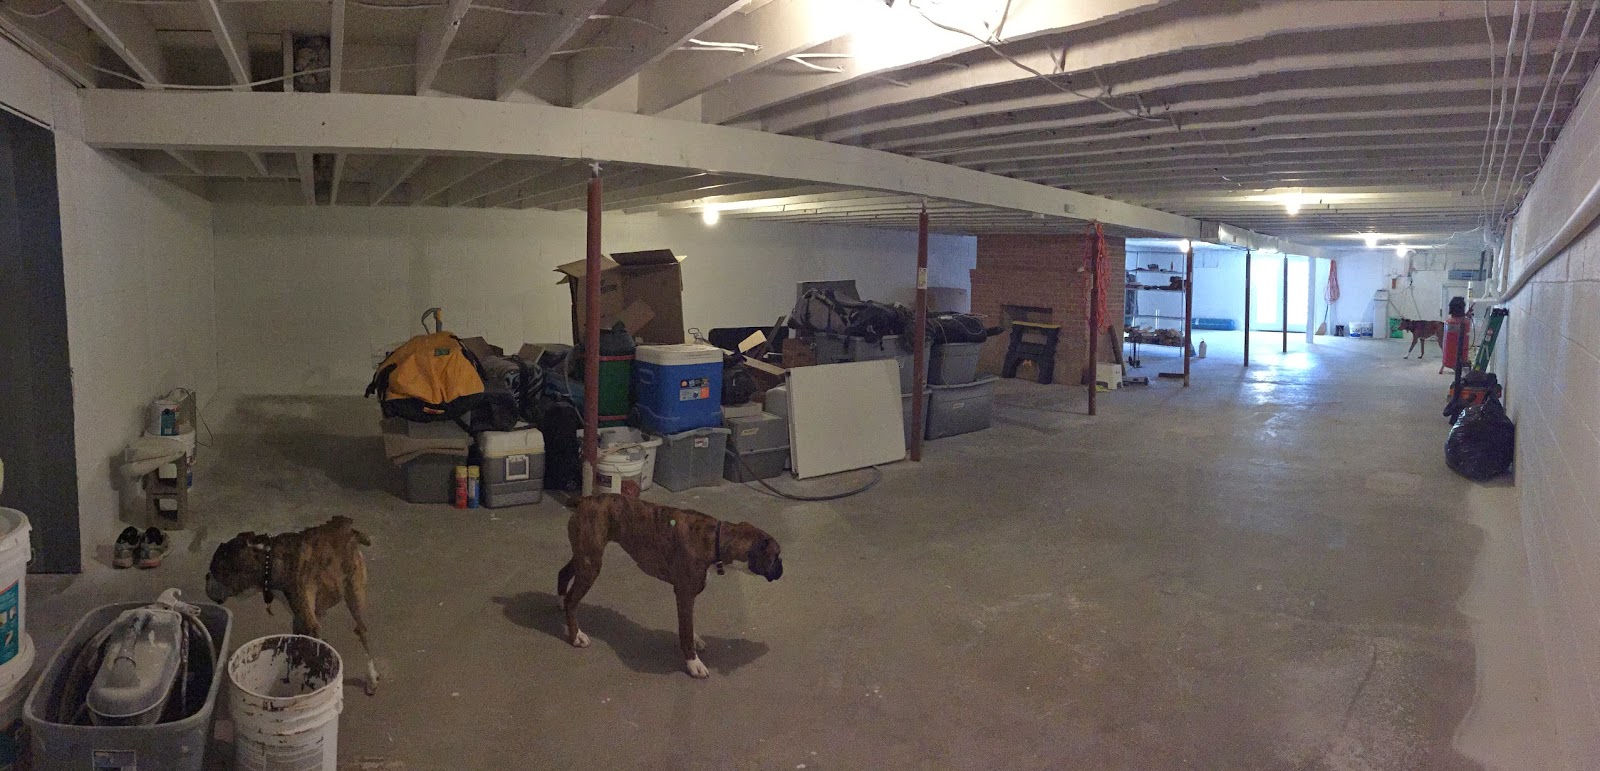
This is a tiny little slice of our whole basement, but it does do its job in showing what the walls looked like and what the ceiling looked like. This was our basement for the last year and a half of us living here; it was a little creepy and very dirty and we never went down there. I shared in the initial basement facelift post and the last basement update post that JT had spent a considerable amount of time DRYLOKing the walls and then spraying Kilz on all the walls and ceiling rafters. He also insulated all of the windows and crawl space entrances. Here is what the basement looked like when that was done.


Just to give you your bearings: the entrance to the basement from the rest of the house is the doorway at the left of the picture, and the outdoor entrance is at the far right. The wood stove is on the other side of the brick fireplace you see in the middle of the room.


This is the part of the basement that we spent this weekend working on. You may notice that the ceiling is lower on the right side of the picture, which is because the book room upstairs has a step down into it. The ceiling is too low in that space to legally finish it, so we decided it would be a nice big storage area for all that junk you see piled up in the middle of the room. Our plan was to line the back wall with shelves, which meant buying a whole bunch of wood.


And then transporting them all downstairs with an incredibly advanced system.


Then JT just spent the first half of the day cutting, and the second half of the day forming the frame. We used these plans (with some adjustments, but I couldn't tell you what those adjustments were because it's all JT at that point).


First he built the vertical supports, then he built up the boxes that would be the shelves' supports.


And then it was just a matter of screwing everything together (again, I say this like it was easy peasy and like I was the one doing it. I did help hold some things, but Charlotte refused to be happy Saturday so it was almost entirely JT).


Beautiful, aren't they? That was Saturday night's stopping point, and Sunday we ripped down the plywood and JT installed it all for the shelves' bases. And then we had the pleasant experience of going through that massive pile of stuff to weed out garbage, make a donate pile, and reorganize in a more logical way. Not to mention that all of it (ALL of it) was coated in paint dust from the sprayer, even though it was under a tarp the whole time. But in the end, this is what we have.


Looks good, doesn't it? The white brightens up the whole room so much, and the shelves are a dream. It's so much better than the pile in the middle of the room. (Don't mind that huge puddle of spilled paint in the middle of the floor. It's always good to make sure your spouse hears you when you ask them to tighten the lid on the 5 gallon bucket of paint.)


And you might notice that the red support poles are now white! It took four coats but thankfully it was a super quick process and they look so much better now! The paint on the floor and around the poles isn't an issue because on our list to get done sometime this year is to paint the whole floor. So no worries there.

We're stoked about the changes that have already happened in the basement, and we're excited about the rest of the changes that will take place over the course of the year (and longer). One thing on the list that is pretty awesome is that we will wall in the storage room and line the rest of the walls with more of the same shelves. Can you even imagine? I'm already dreaming of all the stocking up I can do...I may be able to avoid Costco for six months! ;)

Here's our basement to-do list as it looks right now (long term and short term):
  • insulate rafters and paint over them
  • paint the red support posts white
  • build shelves for storage space and organize everything that's under that huge tarp
  • paint the floor (later in the year)
  • put walls up to conceal the storage area (maybe by the end of the year/next winter sometime)
  • install more shelves in the concealed storage area (end of the year/next winter)
  • put in a bathroom (long term plans)
  • sheet rock ceiling (long term plans)
  • sheet rock and insulation on walls (long term plans)
  • install outlets throughout the basement (long term plans)
  • furnish the rooms (long term plans)
So we do have a long way to go still, but I'm glad we will be picking away at it over time. There are still those handful of things that we would love to get done at some point this year, but nothing really seems to be an emergency any more and we can leisurely cross them off the list. Fingers crossed, but the next big project for our list is, as of right now, my dining room table and various kitchen accessories! My fingers are crossed REAL hard for this, because I. Can't. Wait. for my table. I left the plastic fold-up table out for weeks after Thanksgiving instead of putting it away because I just loved pretending I had my big farmhouse table already. And it's looking very promising that we should be building it in May!


Friday, February 20, 2015

Basement Update

Last time I showed you pictures of the basement mini-reno, JT had just finished painting the walls but everything was still a mess down there. Since then, he has spent an incredible amount of time insulating the ends of the rafters, sealing a few more drafts we discovered (seriously...how can there be so many drafts?), painting over all the new insulation, and cleaning everything up. And now the pictures are much more dramatic.

Just as a reminder, here is a (kind of bad) picture of what we started with:


And this is what we had last time:


And this is what we have now:


Looks pretty good, right? JT has killed himself (almost but not quite literally) on this basement so far, and I think we're both pretty stoked the light at the end of the tunnel is getting closer. Just for giggles, here are some close ups of the insulation JT installed to try to help with drafts.


Do you see the space in between each rafter, and how there is now insulation filling each space? It's hard to see because he also painted over each piece to make it less noticeable. Honestly, guys, we have a lot of rafters and that's a lot of spaces to fill. He cut each piece of insulation separately to size, stapled them all in place, and then painted them all. All the way around the whole  basement. He also covered both crawl space holes with fresh insulation and all three mini windows with insulation and painted over all of them as well.


 That's one of the crawl space holes filled in.

It all looks so good and clean! And not even slightly creepy like it was originally. You may notice that there's paint on the floor from when he sprayed the walls, but that's okay because painting the floor is in the middle-long term plan. Next up on the list is building a massive amount of shelves for the storage area and going through/organizing that massive pile of stuff that's sitting in the middle of the room. I'm not necessarily looking forward to that process, but I'm SUPER excited for the finished product.

Here's the basement progress so far:

  • insulate rafters and paint over them
  • paint the red support posts white (soon)
  • build shelves for storage space and organize everything that's under that huge tarp (soon)
  • paint the floor (later in the year)
  • (maybe) move the treadmill downstairs (later in the year)
  • put walls up to conceal the storage area (maybe by the end of the year/next winter sometime)
It still looks like a lot on that list, but they should all be relatively quick and easy (famous. last. words.). Unless this predicted snow gets in the way, wood should be purchased for the shelves this weekend and we will knock those out before JT starts his class in March and becomes, in his words, "useless" for a while.